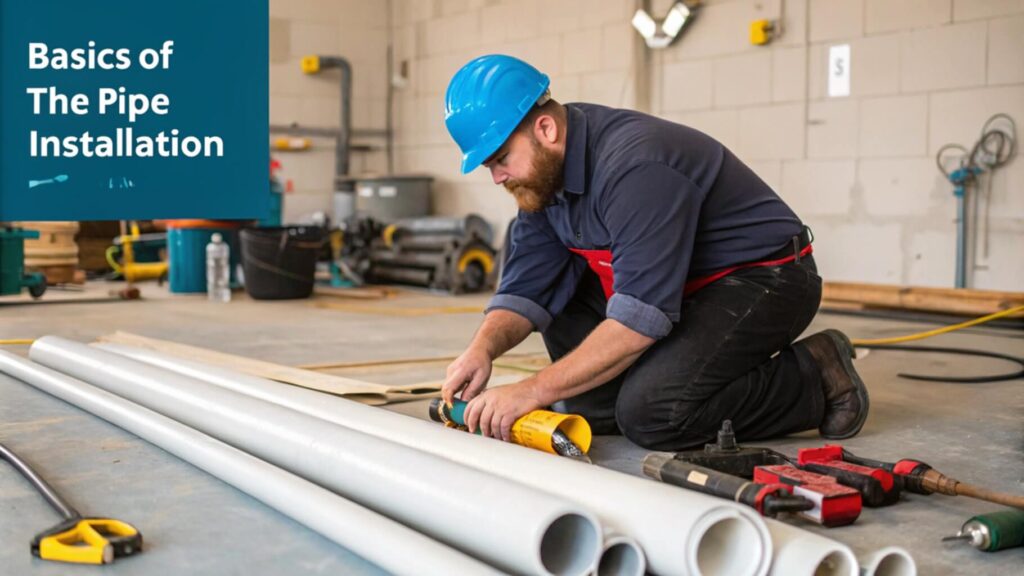
Proper pipe installation requires careful planning and understanding of basic plumbing components: supply lines for clean water, drainage systems for waste removal, and venting systems for pressure control.
Essential materials include copper or PEX for water supply, and PVC or ABS for drainage, with each requiring specific installation techniques and tools. Homeowners should maintain a minimum slope of 1/4 inch per foot for drain pipes and guarantee proper venting to prevent sewer gas backflow.
While simple repairs may be suitable for DIY, complex installations often warrant professional expertise. Understanding these fundamentals leads to more informed decisions about your home’s plumbing projects.
Highlights
- Always maintain a 1/4-inch slope per foot for drain pipes 3 inches or larger to ensure proper water flow.
- Choose appropriate pipe materials: copper/PEX for water supply, and PVC/ABS for drainage, based on specific application needs.
- Turn off the main water supply and wear safety equipment before starting any pipe installation work.
- Group water-using fixtures together in your layout to minimize pipe runs and maintain consistent water pressure.
- Regular inspections and maintenance, including annual professional checks, help prevent costly repairs and ensure system longevity.
Understanding Your Plumbing System Layout
Within every modern building, the plumbing system serves as a critical network that delivers clean water and removes waste efficiently. Understanding your plumbing layout requires knowledge of three essential components that work together seamlessly.
Main Components:
- Supply lines: Pipes that deliver clean water throughout the building
- Drainage system: Network of drain pipes that remove wastewater
- Venting systems: Pipes that maintain proper air pressure and prevent vacuum effects
An efficient plumbing layout depends on the strategic placement of fixtures and proper pipe configuration. When designing or modifying a system, group water-using fixtures like bathrooms, kitchens, and laundry areas together to minimize pipe runs and maintain consistent water pressure.
Key Considerations:
- Slope requirements: Drain pipes 3 inches or larger require a 1/4-inch slope per foot
- Proper venting: Essential for preventing sewer gas backflow and maintaining wastewater flow
- Future expansion: Plan pipe locations to accommodate potential additions
- Plumbing codes: Follow local regulations for pipe sizing and installation requirements
Common Pipe Materials and Selection
Selecting the right pipe material is essential for ensuring long-term plumbing system performance and reliability. When planning pipe installation, homeowners must consider factors such as cost, durability, and specific application requirements for different areas of their plumbing systems.
| Material Type | Best Used For | Key Considerations |
|---|---|---|
| Copper & PEX | Water Supply Lines | Copper requires soldering; PEX needs UV protection |
| PVC & ABS | Drainage Systems | PVC limited to cold applications; ABS suitable for venting |
| Galvanized Steel | Legacy Systems | Prone to corrosion; typically found in older homes |
Modern plumbing systems typically utilize a combination of materials to maximize efficiency and longevity. Copper pipes remain popular for water supply lines due to their corrosion resistance and durability, while PEX offers flexibility and easier installation. For drainage systems, PVC and ABS provide cost-effective solutions, with PVC being the more economical choice.
While galvanized steel pipes were once standard, they are now primarily encountered during renovation projects and often require replacement due to corrosion issues. Professional plumbers typically recommend replacing these older installations with modern materials that offer superior performance and longevity.
Essential Tools for Pipe Installation
Successful pipe installation relies on five fundamental tools that every plumber or DIY enthusiast should have in their toolkit. These essential implements guarantee effective installation and long-lasting results when working with various piping materials.
A professional-grade tubing cutter stands as the primary tool for achieving precise cuts on copper and PVC pipes, creating clean edges that are essential for proper fitting connections. For more demanding materials, a hacksaw equipped with a fine-toothed blade proves indispensable, particularly when cutting through metal pipes.
Accurate measurements are critical for proper installation, making a reliable tape measure an absolute necessity. When working with copper pipes, a soldering iron becomes indispensable for creating leak-proof joints through the careful application of solder and flux.
To complete the essential toolkit, pipe wrenches, and adjustable jaw pliers provide the necessary torque and grip for secure connections.
These tools offer:
- Controlled tightening of fittings
- Enhanced leverage for difficult connections
- Prevention of pipe damage during installation
- Ability to handle various pipe sizes
- Proper alignment of joints and fittings
Planning for Efficient Water Flow
Proper planning for water flow systems forms the cornerstone of effective plumbing installation. Success relies heavily on correct pipe sizing, which directly impacts water pressure and overall system efficiency.
When designing your plumbing layout, consider both supply and drainage components to guarantee peak performance.
Key Planning Considerations:
- Position plumbing fixtures strategically to minimize pipe runs, reducing installation costs and maximizing water efficiency.
- Install drainage pipes with a precise slope of 1/4 inch per foot for 3-inch or larger pipes to prevent standing water.
- Incorporate vent pipes at appropriate intervals to maintain proper airflow and prevent system vacuum.
- Size pipes according to expected water flow demands and pressure requirements.
Maintenance Guidelines:
- Conduct regular maintenance inspections to identify potential leaks early.
- Monitor water pressure throughout the system.
- Check for signs of blockages or reduced flow.
- Assess vent pipe functionality periodically.
Remember that proper planning extends beyond the initial installation. A well-designed system should accommodate future maintenance needs and potential upgrades.
Professional Vs DIY Installation
Deciding between professional and DIY pipe installation requires careful evaluation of project complexity, skill level, and potential risks.
While DIY installations can offer significant cost savings on simple projects, such as replacing a basic sink drain or installing a new shower head, professional expertise becomes essential for tasks involving main water lines, gas pipes, or complex routing systems.
Licensed plumbers bring not only technical proficiency and code compliance knowledge to the job but also specialized equipment and warranties that protect homeowners from future complications or system failures.
When To Call Experts
When undertaking pipe installation projects, understanding the boundary between DIY capability and professional expertise is essential for both safety and success. Complex installations, such as whole-house repiping or sewer line replacements, require professional plumbers to guarantee compliance with local codes and prevent potential hazards.
| Project Type | DIY Suitable | Expert Required | Risk Level |
|---|---|---|---|
| Fixture Replace | Yes | No | Low |
| Minor Repairs | Yes | No | Low |
| Gas Lines | No | Yes | High |
| Sewer Mains | No | Yes | High |
Significant issues involving multiple pipe materials or intricate plumbing systems demand expert assistance to avoid costly mistakes and code violations. Professional plumbers possess specialized equipment and knowledge necessary for proper installations involving complex fittings and connections. While DIY projects might seem cost-effective initially, improper installation can lead to extensive damage and expensive repairs.
Regular maintenance by licensed professionals helps identify potential problems before they escalate into major issues. Homeowners should schedule periodic inspections to guarantee their plumbing systems operate efficiently and comply with current safety standards. This preventive approach extends system longevity and minimizes the risk of emergency repairs.
DIY Safety Guidelines
Safety considerations form the cornerstone of any pipe installation project, whether undertaken by professionals or DIY enthusiasts.
While DIY plumbing can be cost-effective for minor repairs, understanding and following proper safety guidelines is vital to prevent flooding and other hazards.
Essential Safety Protocols:
- Turn off the main water supply before beginning any work
- Inspect visible pipes for existing damage or corrosion
- Wear appropriate protective gear (safety glasses, gloves)
- Keep a basic toolkit and emergency supplies nearby
- Document existing pipe configurations before modifications
As a general rule, homeowners should limit DIY work to minor plumbing tasks, such as replacing faucets or fixing simple leaks.
Complex installations requiring professional expertise should align with local codes and safety standards to avoid common plumbing mistakes.
Before starting any project, evaluate these factors:
- Project complexity and required tools
- Knowledge of local building regulations
- Access to proper materials and fittings
- Emergency shutdown procedures
- Backup plans for potential complications
When in doubt about safety requirements or technical specifications, consulting with licensed professionals can prevent costly errors and guarantee installation quality.
Cost Comparison Analysis
A thorough cost comparison between professional and DIY pipe installation reveals considerable price variations that can influence a homeowner’s decision-making process.
Professional pipe installation typically ranges from $2,000 to $15,000+, while DIY installations can cost between $150 and $1,800 for basic projects, representing notable potential savings.
Key Cost Considerations:
- Professional installations include warranties on labor and materials, providing peace of mind against future issues.
- DIY projects require investment in tools and materials, with material choices greatly impacting overall costs.
- Licensed plumbers guarantee compliance with local codes, preventing costly repairs and potential fines.
- Common mistakes in DIY plumbing work can lead to considerable long-term expenses.
- Professional services often include permits, inspections, and guaranteed workmanship.
When evaluating installation options, homeowners must consider factors beyond initial costs.
While DIY installations may appear more economical upfront, the risk of errors and subsequent repairs can offset savings.
Professional installations, though more expensive initially, typically include extensive warranties and adherence to building codes, potentially reducing future maintenance expenses and guaranteeing proper installation standards.
Maintenance and Inspection Guidelines
Proper maintenance and regular inspections form the foundation of a reliable plumbing system, with annual checks for leaks, corrosion, and structural integrity being essential components of responsible pipe ownership.
A thorough inspection schedule should include monthly visual examinations of exposed pipes, quarterly testing of water pressure levels, and seasonal assessments of pipe insulation in unheated areas.
Preventive cleaning procedures, such as using drain strainers and applying enzymatic cleaners every three months, help maintain ideal flow rates while reducing the likelihood of costly emergency repairs.
Regular Inspection Schedules
Regular inspections serve as the cornerstone of effective pipe maintenance, with annual checks being the minimum requirement for residential and commercial plumbing systems. During these inspections, homeowners and professionals should check for water stains, monitor water pressure levels, and detect leaks that could indicate underlying issues.
Key inspection tasks include:
- Examining pipes for signs of wear, corrosion, or structural damage
- Monitoring water bills for unexpected increases that may signal hidden leaks
- Testing water pressure to ascertain it remains within the 40-60 psi range
- Inspecting and cleaning drain lines every three months to prevent clogs
- Scheduling professional inspections to verify compliance with local plumbing codes
A thorough inspection schedule should incorporate both visual examinations and functional testing of all plumbing components.
Property owners must maintain detailed records of these inspections, documenting any repairs or modifications made to the system.
Professional inspections, conducted annually, provide an additional layer of expertise and guarantee that potential problems are identified before they escalate into major repairs.
This systematic approach to pipe maintenance helps extend system longevity while maintaining peak performance standards throughout the plumbing network.
Preventive Cleaning Procedures
Maintaining an effective preventive cleaning regimen safeguards plumbing systems against common issues while extending their operational lifespan.
Preventive cleaning procedures focus on addressing potential problems before they escalate into costly repairs or water damage.
Key Maintenance Steps:
- Implement regular drain cleaning by installing mesh strainers in all sinks and bathtubs to catch debris, hair, and food particles.
- Perform periodic flushing of drains using a natural solution of vinegar and baking soda to dissolve buildup and prevent clogs.
- Monitor pipes for signs of wear and corrosion, particularly in areas with high moisture exposure.
- Conduct annual water heater maintenance, including complete drainage and sediment removal.
Winter Protection Protocol:
- Inspect outdoor faucets and pipes before cold weather arrives.
- Verify all exterior plumbing components are properly insulated to prevent freezing.
- Disconnect and drain garden hoses.
- Check basement and crawl space pipes for proper insulation.
Additional Considerations:
- Test water pressure regularly using a gauge to maintain ideal levels (40-60 psi).
- Document all cleaning procedures and maintenance dates for future reference.
- Schedule professional inspections bi-annually for thorough system evaluation.
Frequently Asked Questions
How Long Should I Wait Before Using Water After Installing New Pipes?
After pipe installation, wait 24-48 hours for adhesive curing and proper water pressure stabilization. Conduct thorough leak detection tests before regular use. Installation safety guidelines vary by pipe material and installation techniques used.
Can Extreme Weather Conditions Affect the Curing Time of Pipe Adhesives?
Yes, extreme weather conditions greatly affect pipe adhesives’ curing process. Temperature effects and humidity impact can extend drying times or compromise bonding strength. Installation guidelines recommend avoiding extreme conditions when applying different adhesive types.
Should Pipe Insulation Be Installed Before or After Pressure Testing?
Install pipe insulation after successful pressure testing to guarantee proper joint inspection and leak detection. This installation sequence optimizes thermal protection, moisture control, energy efficiency, and condensation prevention while maintaining material compatibility and installation standards.
What Temperature Range Is Safe for PVC Pipe Installation?
PVC temperature guidelines recommend installation between 40°F-110°F for ideal pipe flexibility. Avoid temperature extremes to prevent installation mistakes and pipe expansion issues. Safety precautions are essential, especially during cold weather and outdoor installations.
How Often Should Pipe Supports Be Placed in Horizontal Pipe Runs?
Horizontal pipe support spacing typically requires brackets every 4-6 feet for proper load distribution and structural integrity. Support intervals may vary based on pipe diameter, material, and local codes to maintain proper alignment.
Final Thoughts
Proper pipe installation requires thorough knowledge of plumbing systems, material selection, and installation techniques to guarantee long-term functionality and prevent costly repairs. Understanding local building codes, maintaining appropriate water pressure, and implementing regular inspection schedules greatly reduce the risk of system failures.
Whether choosing professional installation or DIY approaches, adherence to established guidelines and proper tool usage remain essential for creating reliable, efficient plumbing systems that meet modern construction standards.


